To appreciate where I am now, you need to know where I came from. My love for bikes and the outdoors started inside, a spin class! After several grueling months of stationary sweating I was finally starting to get some good solid fitness and decided it was finally time to take my cycling skills to the next level- the open road.
I purchased a road bike, started riding and training with friends and it wasn’t long after that I started racing competitively. Fast forward six years later and the thought crossed my mind that I needed a mountain bike (although, I wasn’t exactly sure why. It's the same as road cycling, but just slower, right?! So I searched around, found a nice used mountain bike online, and of course it was blue, so I immediately made the purchase. I was now a mountain biker!
My mountain bike sat unridden for almost an entire year. So, after a year of procrastination I decided enough was enough, it was time to give this thing a solid go. I set a date, arranged a demo bike for my boyfriend (his first time too) and we hit the trails. Or… better yet, the trails hit me! I completely sucked at mountain biking! I hated every second of it and only wanted to go back to what I was comfortable with, really good at - the road bike. My boyfriend, however, LOVED mountain biking and he started the search to buy his first bike. Great… I got him into it, he loves it, I hate it - now what?
I thought to myself, maybe if I just commit one day each week to this dumb sport, he'll think I'm supportive. I am not exaggerating when I say that I was the absolute worst mountain biker around. Most of my rides ended in tears. I was terrified of the smallest rocks, tiniest bumps, anything non-smooth, especially the turns. Switchback! Forget about it! I wouldn’t do any of it. But I held strong and remained committed to my one-day-a-week show of support.
As that first season went on my confidence grew and my riding improved. I got a new bike that fit me much better and I was shocked at how much more comfortable I felt. I started riding my mountain bike way more than my allotted one-day-a-week and even ventured off by myself from time to time. On my solo journeys I would practice everything that scared me, especially switchbacks. I would practice switchbacks over and over and over, hiking back up with my bike for what seemed like hours trying them again and again until I mastered each and every turn. Sure, it wasn’t easy and I was scared a lot, but I tried and tried until I finally succeeded.
Now that I’m teaching mountain biking, and more importantly the fundamental skills that go along with it, it’s apparent to me that cornering is one skill that everyone can benefit from improvement. “Cornering is a practice, similar to yoga and happiness, you need to work on it.” But just saying you need to ‘work on it’ isn’t enough though. If you don’t know what you’re doing wrong, or right for that matter, how are you supposed to really improve, right?
After many years of honing my own skills, I now know just the way to help you improve your skills in the corners. It all starts with the hips! Most riders get low and squatty in their legs when they ride downhill. This is like having your fork bottomed out before you even start. Bring those hips up and pop your bootie in the air. This does not mean lock out your knees! When you bend your knees, you take pressure out from under your tires and lose traction. When your hips are high, you gain traction! Traction = Control = Speed.
Next, make sure you’re centered on the bike. If you’re always riding back behind the saddle when going downhill, how are you ever going to be able to make those tight turns? Line your chin up with your stem. Make sure you stay there to gain traction with your front wheel. Think about it… If you are in the backseat of a car, how are you supposed to turn the wheel?
Braking comes next… have you ever heard the phrase, “no brakes in corners.”? As a new or even intermediate rider, no brakes in corners sounds incredibly scary and is also terrible advice. You can however, efficiently use your brakes to prepare for a corner by slowing down before the turn by using approximately 70% lever pressure on your front brake and 30% on your back brake when you hit the apex (the point of which the trail changes direction). What’s so special about 70/30 you ask? Your front brake will slow you down much more efficiently than your back brake. Your back brake will only keep you from going faster, or keep you going the same speed. Now, after the apex, let off the front brake and use your back brake only (if needed). If you use your front brake in a corner, your wheel will not be able to roll freely and can easily get caught up and make you feel out of control, or worse, you might even crash. No front brake in corners!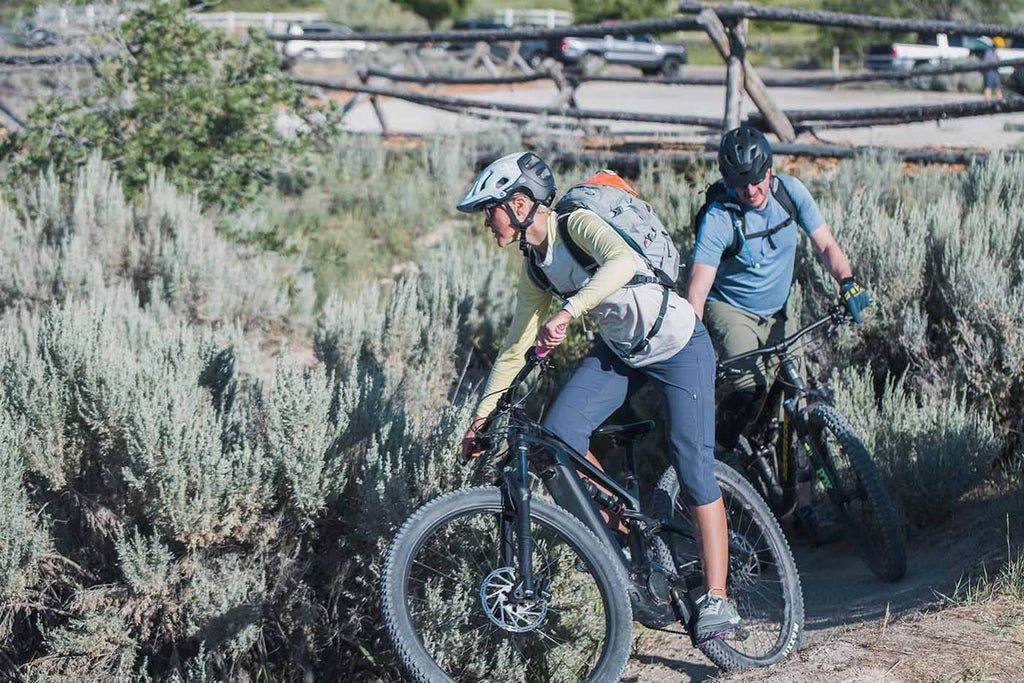
And lastly, Look at your EXIT. Don’t watch your front wheel, you don’t need to keep an eye on it. Turn your head and look at the exit of the corner. Your head will turn, trust me. Pick up those eyeballs and look where you want to go - not where you are. Come to think of it, this just-copyrighted saying can also be appropriately applied to life goals: “Look where you want to go, not where you are.”
And that’s it! The beginners guide to cornering. I get it, this is a lot to take in. Don’t feel embarrassed if these concepts still sound too difficult or feel just a bit too foreign. I urge you to book a lesson with an instructor, and preferably a certified one, it will make all the difference in the world and will help get you through those pesky corners in no time!
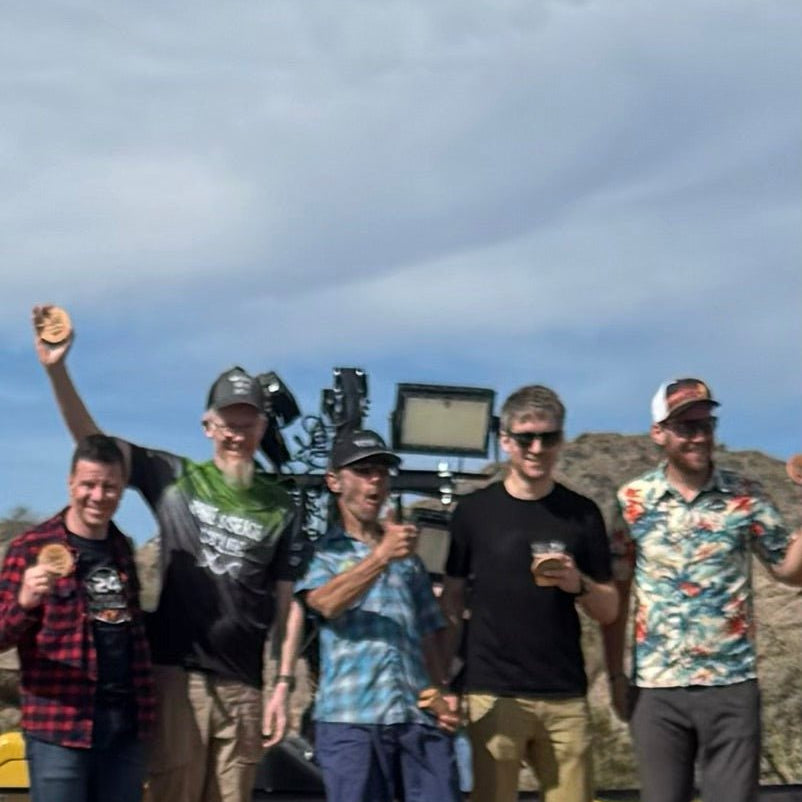
To learn more about Jamie Bangerter or schedule a lesson with Simply MTB check out her website here https://www.simplymtb.com/