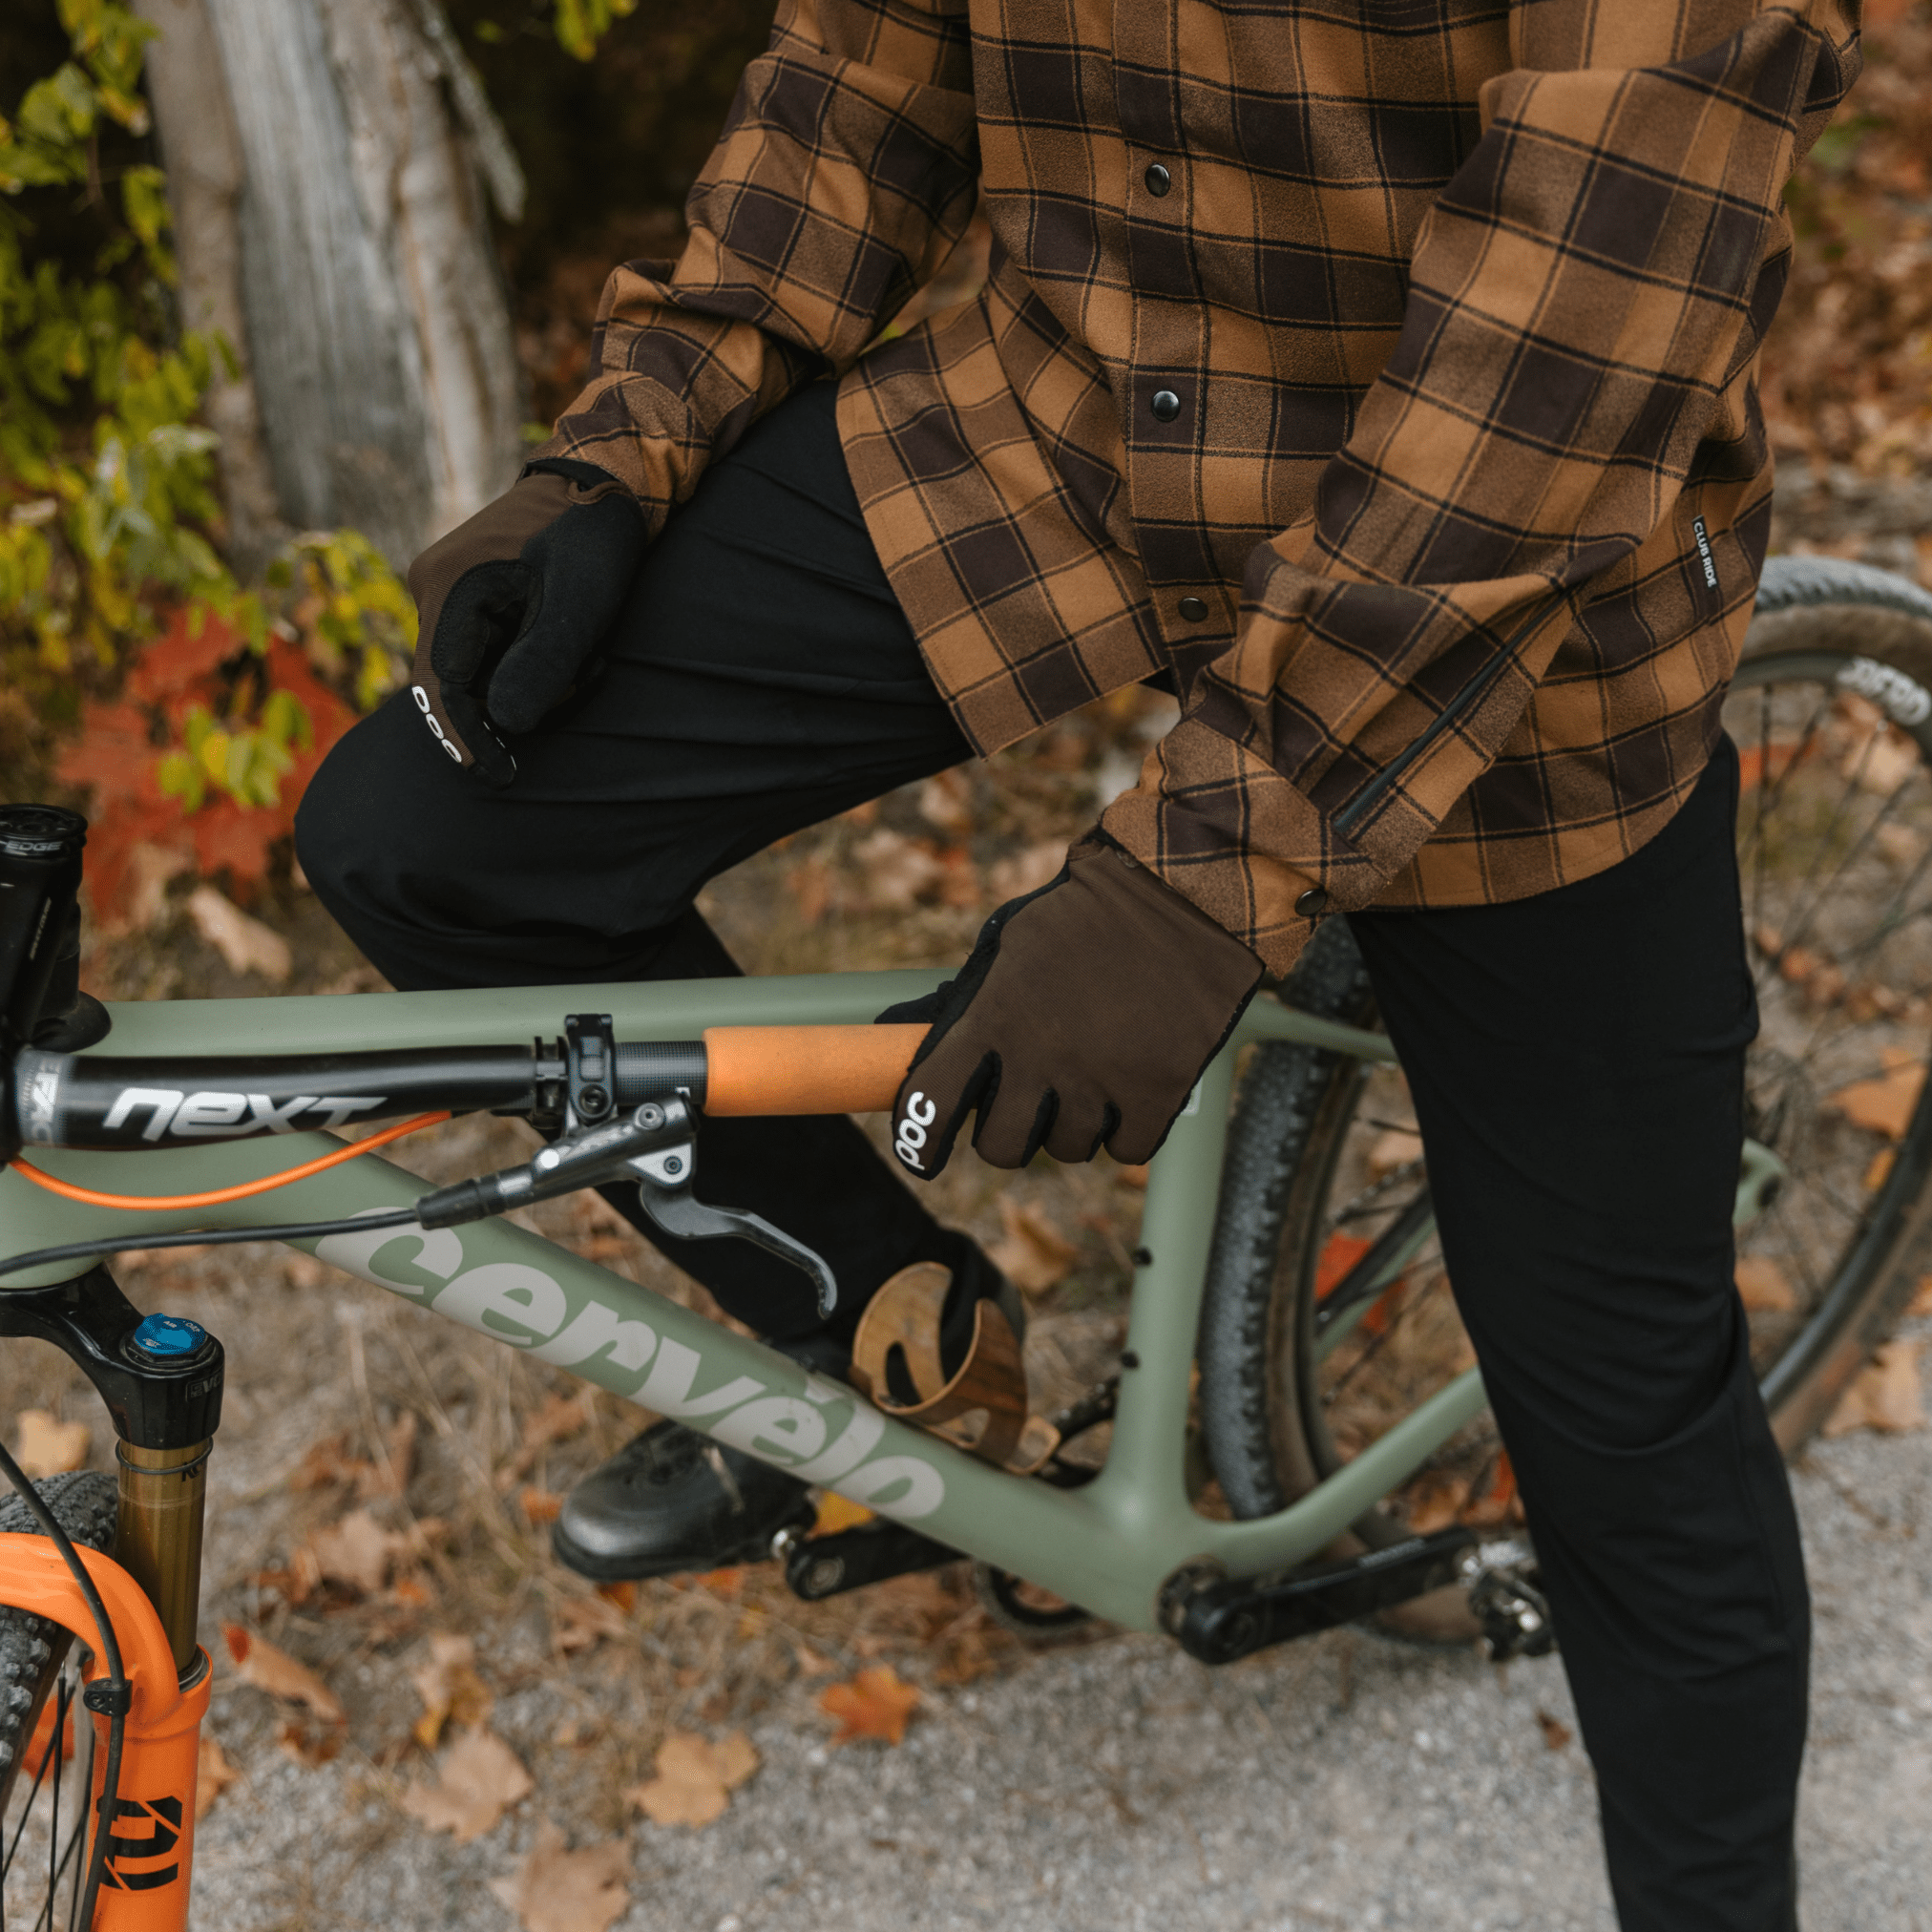
To be honest, most of us do absolutely nothing to prep our bikes for winter. We hang them up, maybe knock off the worst of the mud, and immediately shift our mental focus to ski season.
But if you want your bike ready for that first warm spring ride without rust, dried out sealant, or sad spongy brakes, you need a plan. A few simple steps now can save you a massive repair bill and a lot of frustration later.
Here are five easy things you can do to winterize your mountain bike before you dive into winter sports.

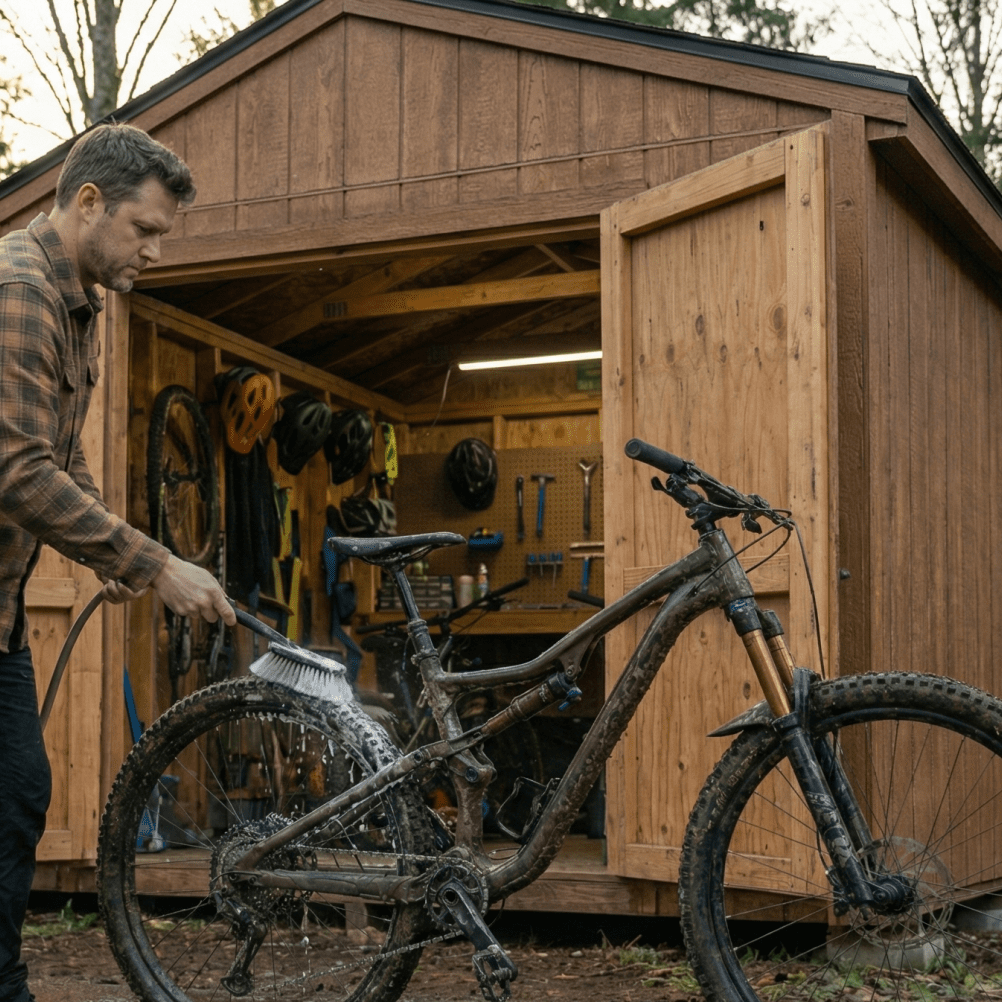
1. The “Surgical” Clean and Dry
Never put your bike away dirty or damp. Mud traps moisture against the frame, and sweat contains salt that will chew through paint and metal if left to sit for three months.
- The Action: Give your bike a proper wash with warm, soapy water. Then, dry it completely. If you have an air compressor or a leaf blower, use it to blast water out of the bolt heads, chain links, and pivot points.
- Pro Tip: Once dry, apply a light coat of generic silicone spray or bike polish to the frame. This creates a protective barrier against humidity and moisture while it sits in storage.
2. Rust Proof the Drivetrain
Chains do not enjoy long winter naps without protection. The light lube you use for summer riding might dry out by January, leaving your chain vulnerable to surface rust.
- The Action: Apply a heavy wet lube to the chain. Here is the trick: do not wipe it off. Usually, we tell you to wipe off excess lube, but for storage, you want that thick layer to protect the chain from rust until spring.
3. Tire TLC and the "Stanimal" Prevention
Concrete floors are surprisingly bad; they can draw moisture out of rubber, causing your tires to dry rot or crack over time.
- The Action: Inflate your tires to the maximum recommended PSI to hold shape. If your bike sits on the floor, place a piece of cardboard or a scrap of carpet under the tires to insulate them from the cold concrete.
- For Tubeless Riders: This is critical. You need to go into the garage and spin your wheels every two weeks. If you skip this, your sealant will settle at the bottom of the tire and dry into a solid rubber ball (affectionately known as a "Stanimal"), leaving you with zero puncture protection in the spring.
4. Relax Your Springs (Derailleurs and Droppers)
Springs are mechanical. If they stay compressed under high tension for months, they can fatigue and weaken.
- The Action: Shift your gears into the smallest cog on the cassette. This releases the tension on the derailleur cable and the return spring.
- The Dropper Post: Store your dropper post fully extended (up). Keeping it up reduces internal air pressure on the seals.
5. Battery Care for eMTBs and Electronic Shifting
If you ride an e-bike or use AXS/Di2 shifting, pay attention. Lithium ion batteries hate being stored at 0% or 100%, and they absolutely despise freezing temperatures.
- The Action: Charge all removable batteries to roughly 60 percent and bring them inside the house. Room temperature storage is the key to preserving long term battery health.
⚠️ The "Cockpit Warning"
If your bike has hydraulic disc brakes, do not store the bike upside down.
Air bubbles naturally exist in your brake system. If you flip the bike, those bubbles can migrate from the lever reservoir into the brake lines and calipers. The result? You will pull the bike down in April and the brakes will go straight to the bar. Keep the bike upright or hanging from a wheel hook!
It's Not Rocket science
You do not need to be a mechanic to winterize your mountain bike. A simple clean, some heavy lubrication, smart tire care, and basic battery maintenance will go a long way.
"Future You" will be very happy when that first warm spring day hits and your bike is ready to roll immediately instead of waiting three weeks for a service appointment at the local shop.